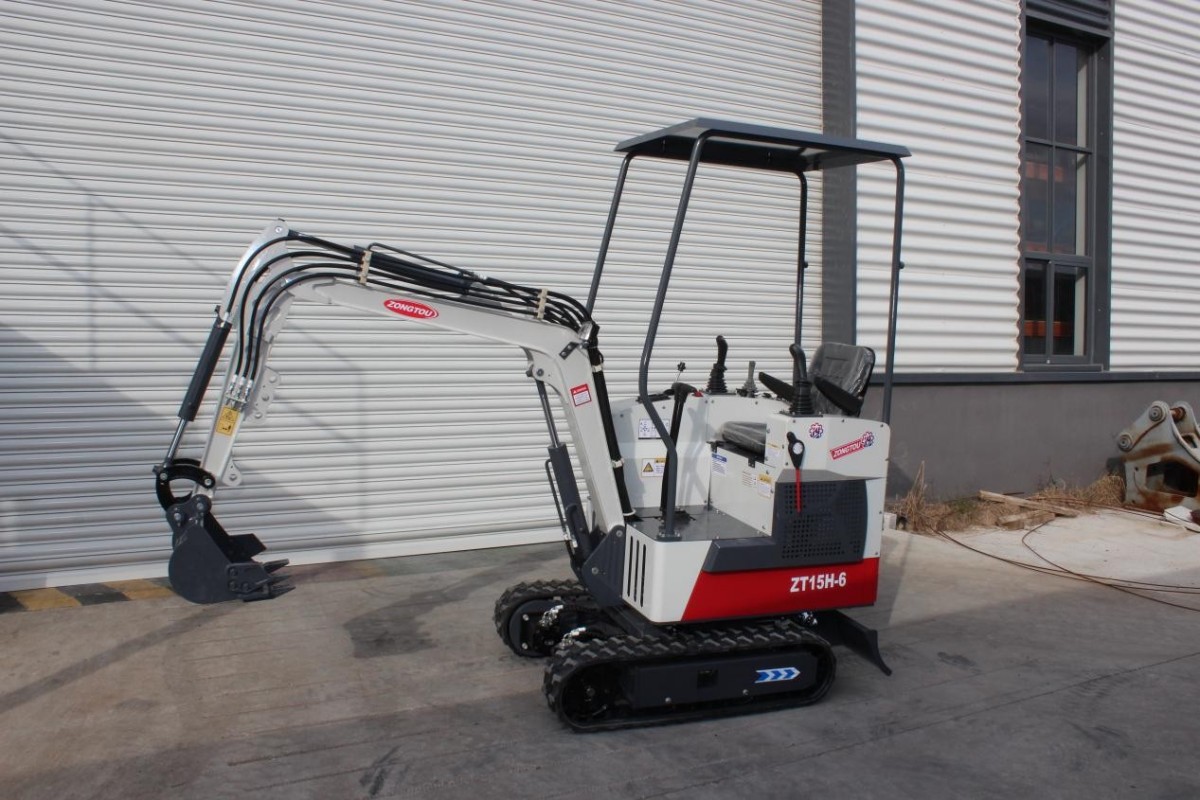
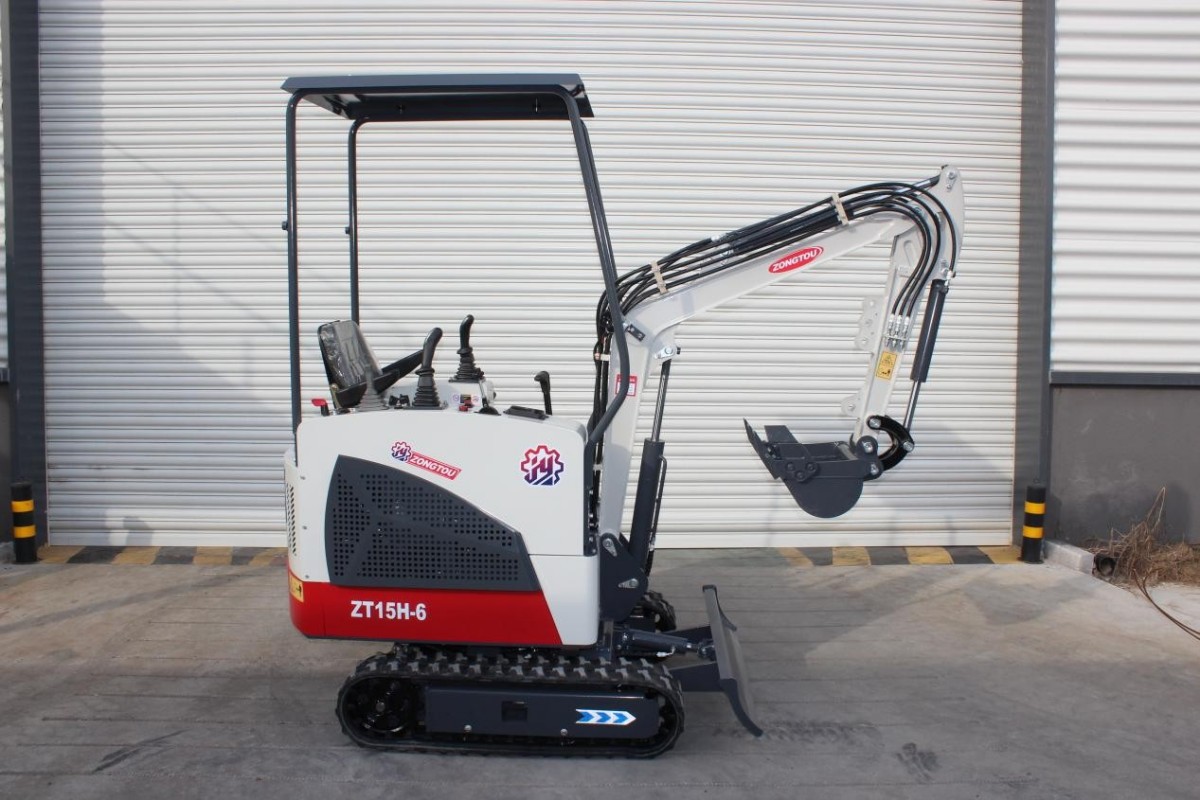
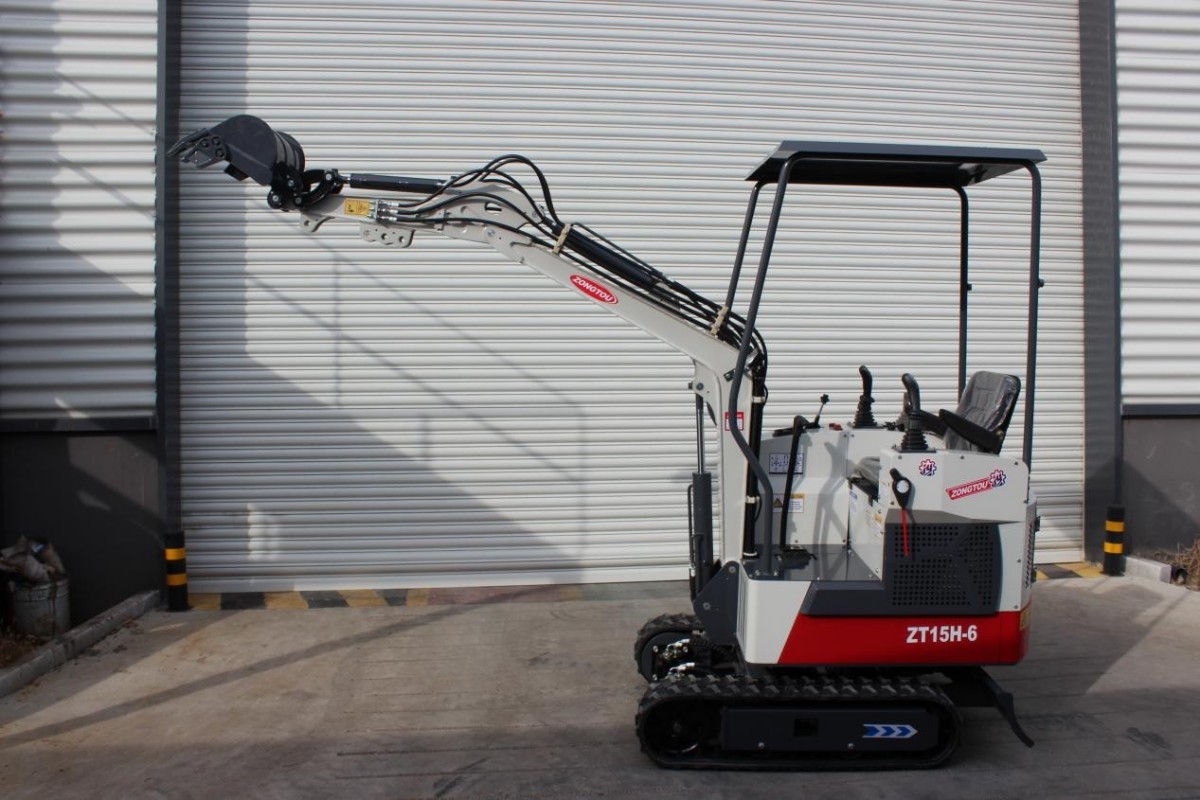
A mini excavator is a versatile machine that can handle a variety of tasks from trenching to landscaping. One of the most important aspects of operating a mini excavator is knowing how to change the bucket. This skill not only increases the functionality of the machine, but also ensures that you can adapt effectively to different job requirements. In this article, we will guide you through the steps on how to change the bucket of a mini excavator.

Know Your Mini Excavator
Before you begin replacing a bucket, it's vital to be familiar with your mini excavator's components. Most mini excavators are equipped with a quick coupler system that makes it easy to attach and remove buckets and other implements. However, the specific mechanism can vary depending on the make and model of your machine, so always refer to your operator's manual for detailed instructions.

Safety first
Safety is always the top priority when operating heavy machinery. Before you start changing the bucket, make sure the mini excavator is parked on stable, level ground. Apply the parking brake and turn off the engine. It is also recommended to wear appropriate personal protective equipment (PPE), such as gloves and safety glasses, to protect yourself during the operation.
Step-by-step guide to replacing a barrel
1. Position the Excavator: Start by positioning the mini excavator where you can easily access the bucket. Extend the arm and lower the bucket to the ground. This will help relieve stress on the coupler and make the bucket easier to remove.
2. Relieve Hydraulic Pressure: Before changing the bucket, you will need to relieve the hydraulic pressure. This is usually done by moving the hydraulic controls to the neutral position. Some models may have specific procedures for relieving pressure, so consult your operator's manual if necessary.
3. Unlock the Quick Coupler: Most mini excavators come with a quick coupler that makes it easy to change buckets. Find the release (it may be a lever or button) and activate it to unlock the coupler. You should hear a click or feel the release when it disengages.
4. Remove the bucket: With the coupler unlocked, use the excavator arm to carefully lift the bucket off the coupler. Make sure the bucket remains stable and avoid any sudden movements. Once the bucket is clean, place it in a safe place.
5. Install New Bucket: Position the new bucket in front of the coupler. Lower the excavator arm to align the bucket with the coupler. Once aligned, slowly move the bucket toward the coupler until it clicks into place. You may need to adjust the position slightly to ensure a secure fit.
6. LOCK THE COUPLER: With the new bucket in place, engage the locking mechanism on the quick coupler. This may involve pulling a lever or pressing a button, depending on your excavator model. Make sure the bucket is securely locked in place before proceeding.
7. Test the connection: Before you begin work, it is critical to test the connection. Allow the excavator's arm and bucket to move through a full range of motion to ensure everything is functioning properly. If you notice any unusual movement or sounds, double-check the attachment.

in conclusion
Changing the bucket on your mini excavator is a simple process that can significantly increase the versatility of your machine. By following these steps and prioritizing safety, you can efficiently switch between different buckets and attachments, allowing you to handle a variety of tasks with ease. Be sure to consult your operator's manual for specific instructions related to your model, and happy digging!
If you have any problem,please contact my whatsapp:+13255531097,thanks
Post time: Nov-25-2024


